I absolutely love bias tape, handmade bias tape that is. It is quite a chore to make though. I broke down and purchased a couple little gadgets that I thought would make this chore easier, the Bias Tape Maker and the Rotary Cutting Machine, both from Simplicity.
I tried them out today. Here is my story...
An easy way to make bias tape is to start with a half yard of fabric. It is a good idea to wash, dry and perhaps even starch your fabric. Then press it very well.
I have pictures here of different fabrics, sorry about that. Lay your piece out and fold the selvedge edge down to the cut edge as shown below. Cut off this triangular piece.
Sew this triangular piece to the other selvedge edge with right sides facing. Use about 1/4" seam. After you sew it your entire piece should be a parallelogram shape. Press the seam open.
Now you will want to decide how big and what kind of bias tape you will be making, single or double fold. Today I made 1/2" double fold bias tape so I started out with a 2" strip.
To make the strip, draw lines all the way across your fabric that are parallel to the slanted edges and are 2" apart.
Now press under 1/4" on each long edge.
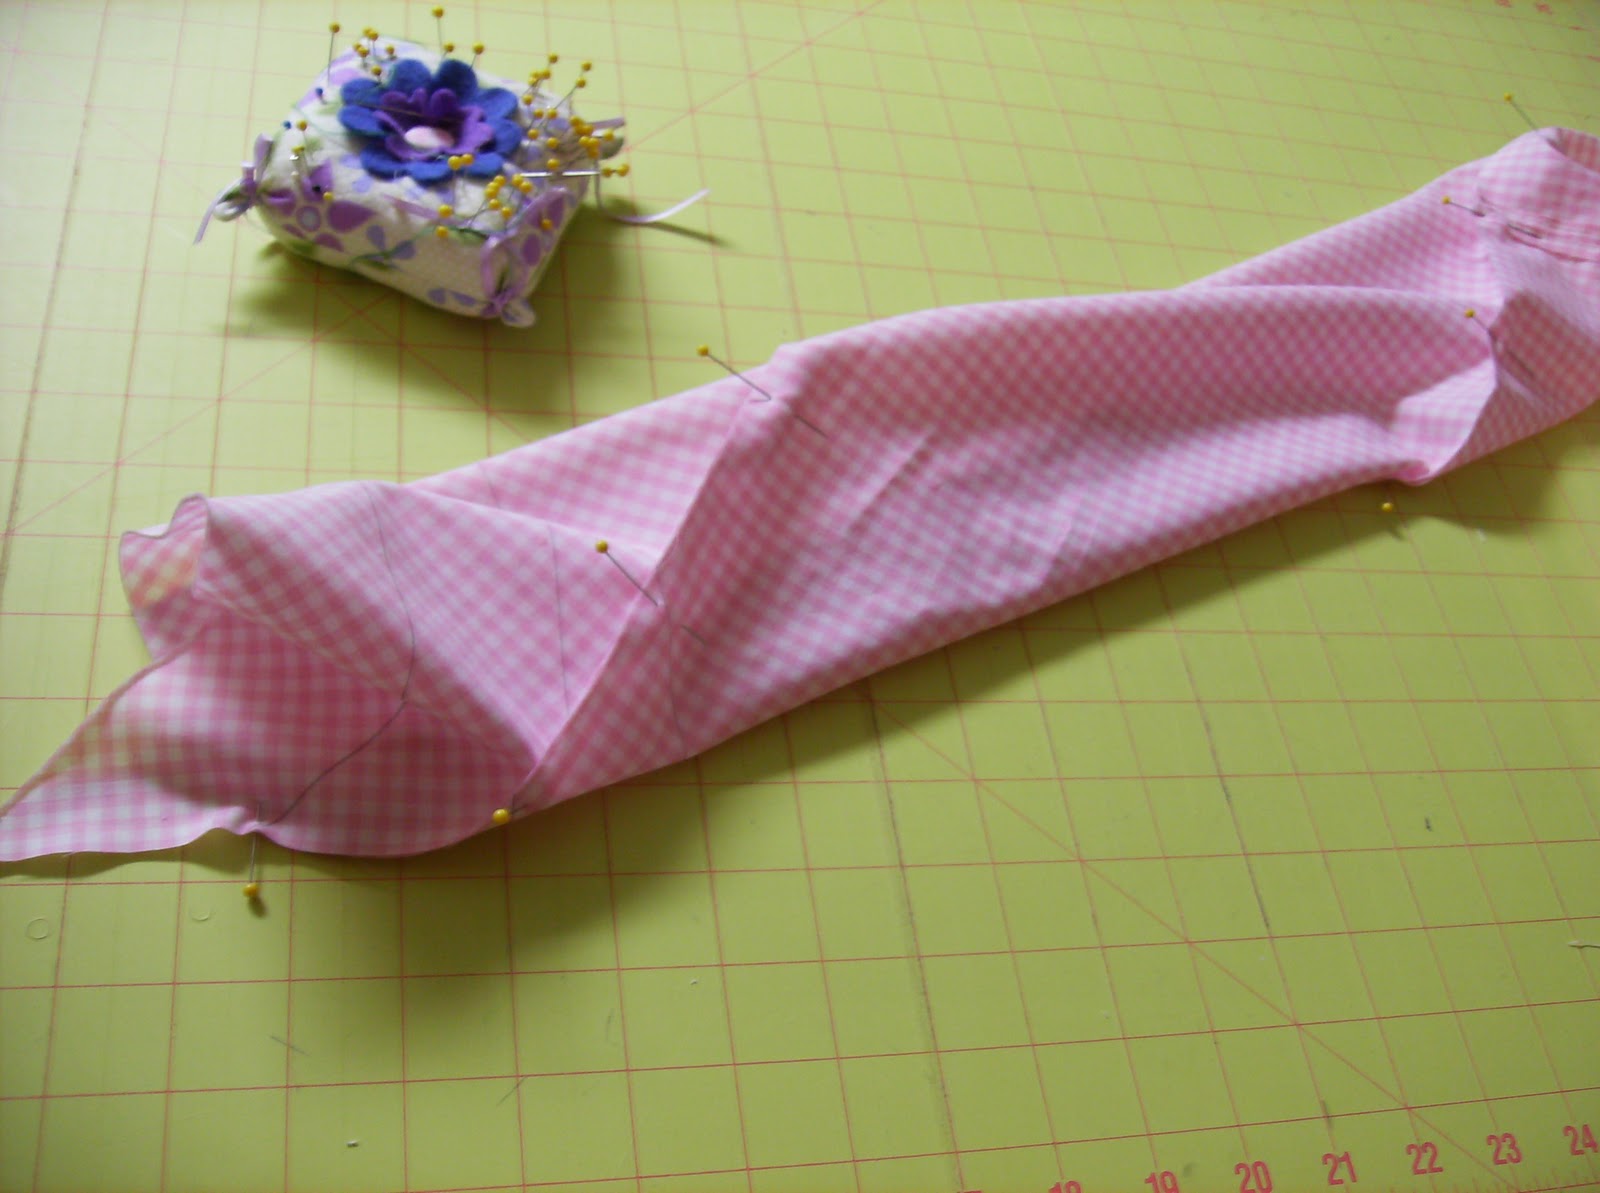
Now fold the piece lengthwise with right sides together. Match up the corner with the first drawn line, not with the other corner. You are making a spiral with the drawn lines. I made a little mock up piece so you can see it better.
The drawn lines should match up on other side of the folded part.
Now open the folds and pin the entire length. You will notice that it will twist up on you and that's what it should do.
Stitch in the fold line which should be a 1/4" seam. Now cut along the drawn lines to make 1 long bias cut strip. Press the seams open.
Now you can make your double fold bias tape the old-fashioned way by folding the strip in half lengthwise and pressing. Then folding the long edges in to meet the fold and pressing again (and burning your fingers). Or...
You can use a handy dandy Bias Tape Maker like mine. It's awesome!! Just load up the fabric as instructed and push the button.
What results is single fold bias tape.
I had a slight problem the first time I used this machine. I think I must not have pressed my seams well enough or something, but they didn't go through the machine very well and had to be pressed by hand.
To make double fold bias tape, I just folded the tape in half and sent it back through the machine. And that's it, beautiful handmade double fold bias tape!
Needless to say, I LOVE THIS MACHINE! Huge time saver, huge relief from burned fingers. I highly recommend it to anyone who makes their own bias tape. And to those who don't because of the hassle.
Now my review of the Rotary Cutting Machine will be very short, but not sweet!
I spent about half my morning trying to get it to cut my fabric, but it refused. I couldn't get it to cut ANYTHING! I am aggravated to say the least. But I am going to try again 'cuz it could just be me. That will have to wait for next time. I will post an update if I get any good results.